My Go To Everyday Makeup Products
I thought i'd share with you the products that I use pretty much every day and continuously reach for to create my everyday makeup look, so here goes!
Face Primer - Stila One Step Correct
I often change my face primer but this is the one that I reach for the most. Not only does it colour correct every imperfection but it also brightens my complexion incredibly. It covers my dark circles, it lessens the redness of imperfections and it just gets rid of any dullness on my face and creates a smooth base that allows my foundation to blend effortlessly. It looks amazing in photos and my makeup lasts and lasts. This product does wonders and even though it lasts ages I'm already on my second bottle!
Available
Here AUD$53
Foundations - Rimmel Lasting Finish Foundation with Comfort Serum & bareMinerals Complexion Rescue Cream

If I want a lighter base this is my go to product. This beauty complexion cream from BareMinerals is both light enough to let my skin breath by pigmented enough to cover imperfections and create an even base. Definitely a must try!
Available Here
If I want a more coverage then this is my holy grail foundation that is light enough for the day and full coverage enough for night. It looks exactly like my skin but completely perfect and blends beautifully. It lasts ages and always looks perfect.
These products works best with a stippling duo fibre brush.
Rimmel Foundation - Available
Here AUD$17.95
bareMinerals Complexion Rescue Available Here AUD$38
Concealers - bareMinerals Stroke of Light Eye Brightener 'Luminous 2' & M.A.C Select Cover Up in 'NW15'
I have two concealers for a reason. 'Stroke of Light' by BareMinerals both covers up imperfections and is my ultimate under eye concealer, it brightens and conceals and doesn't cake (providing you don't use too much). This product works best if you draw it like a triangle under the eye and blend it with gentle patting motion with your ring finger. The lighter M.A.C Cosmetics concealer is perfect for when I want my eyes to look a little brighter (either for an event or when I haven't had enough sleep!) I use a tiny bit right under the lash line. These two products combined work wonders and fake a great nights sleep!
BareMinerals Concealer Available
Here AUD$27 M.A.C Concealer Available
Here AUD$32
Powders - Maybelline Fit Me! Powder 220 & Laura Mercier Pressed Setting Powder in Translucent
From the photo you can see that I use this product a lot! I've been using this powder for as long as I can remember and have re purchased many times. Its just a really light powder that I use to set my foundation and creates a soft even base. This colour matches my skin beautifully and looks lovely in photographs and works on top of every foundation.
I do like the matching foundation that Maybelline has but I prefer the powder.
Available
Here $14.95
This product is perfect for under the eyes to set under eye concealer and to brighten the area and make you look more awake. Just ensure you don't use too much as it can be obvious in photographs. Other than that, a definite staple in my collection. Available
Here AUD$50
Bronzer - Nars Laguna Bronzer

Im sure many of you will of seen this bronzer before because it is a cult classic. I have been using this product for over a year and nothing works better for either adding a warm glow to the face or contouring. I first thought looking at it in the pan that it would be way to dark for my lighter skin but it just blends and glides onto the skin so effortlessly and doesn't look muddy at all. I am yet to find a bronzer that I like more! I use this both on a daily basis for a slight glow and for a strong contour and face framing for events. I use this on clients all the time and it works beautifully with so many skin tones and just frames the face perfectly. Whilst it is quite pricey being a high end makeup product, it is definitely worth it as it lasts ages and looks incredible. Available
Here AUD$56
Blush - Nars Blushes in 'Madly' and 'Deep Throat'


For years I have struggled with the concept of blush, purely because I didn't know how to pick a shade that worked for me or how to apply it. But with a lot of practice I have gotten better and have found shades that work for my skin tone. Usually I like darker, more dusty shades, (Like M.A.C 'Pinch Me') but these two colours combined create the perfect peachy glow. (On Left is Madly, Middle is Deep Throat, Right is the two combined. It makes my skin look sun kissed and effortless. Whilst i wouldn't recommend this for a night out as it is quite light and pink, it is perfect for every day and just completing your makeup look. I would definitely recommend mixing blushes as you can customise the perfect colour for your skin tone/the look you are trying to achieve.
* Note - My deep throat blush is a simple size not full sized
Both Blushes Available
Here - Each AUD$42
Highlighter - MAC Studio Sculpt Defining Powder in 'Light'

Whilst my actual favourite highlighter is 'Soft and Gentle' Mineralised Skin Finish from M.A.C I find its just too sparkly for every day wear. That being said, I still like to have a highlight on my face to catch the sun and to make my skin glow so this product is brilliant. I hadn't heard of it until a girl at M.A.C suggested it to me. Its the Studio Sculpt Defining Powder in 'Light'. It doesn't look like much in the pan but when swept onto the top of the cheek bone it just gives off such a subtle gorgeous glow. It doesn't have chunks of glitter but it definitely reflects light in such a unique way. It can also be swept all over the face for a light glow but I prefer to concentrate it on my cheek bones and sometimes on my brow bone for a simple glow. A new product for me but once I started using it i couldn't stop! I think this product works best with an angled brush similar to what you would use for contouring or a fan brush; I swap between the two. Available Here.
Brows - Kit Cosmetics Brow Gel & Kevin Aucoin Brow Pencil in 'Brunette'

When I was younger I never did anything to my brows, I just didn't know how. A makeup artist from Napoleon Perdis once told me 'once you start filling in your brows you won't stop', she couldn't be more right! I'm lucky to have a good shape to my brows but the hair colour is quite light compared to my brown hair so filling them in is necessary, my face just doesn't look complete without it. This Kevin Aucoin Brow Pencil in 'Brunette' (with built in spoolie in the end) is perfect, its waxy so it shapes the hairs and fills in exquisitely and I can't imagine using any other product. The Kit Clear Brow Gel is perfect for setting the look and just keeps it flawless all day. This product also works if you don't want to add colour to your brows just groom them. My favourite brow products by far!
Kit Brow Gel Available
Here AUD$17.95. Kevin Aucoin brow pencil Available
Here AUD$35
Eye Primer - Too Faced Shadow Insurance
I would be the first to admit that I am not very adventurous with eye primers, aside from a few samples this is the only full size eye primer I have. This is purely because this product is so good that I don't see the need for another one. It creates a smooth perfect base and ensures eyeshadow glides on and makes them both look stronger and more pigmented and last literally hours and hours. My favourite eye primer hands down, use it every single day.
Eyeliner - Stila Stay all Day Waterproof Liquid Eye Liner in Black

It took me a while to master winged eye liner (and I mean hours of watching YouTube videos and taking it on and off and almost covering half my eye trying to make it even) but once I did it is once of my all time favourite looks and I think every one should master it. (Post on this is coming soon) I have experimented with many different products and have found some more affordable dupes (Maybelline has an amazing one!) but this is my holy grail, hands down, use almost every day eyeliner. This is my 4th repurchase and I will forever love this product. It is super well pigmented (not on the first try, it takes at least one or two goes to get the product into the felt tip) and has a very sharp felt tip point which makes it super easy to apply. Its not even super expensive so is justifiable as a staple for your collection. As you can see you can make either a thick line or a super precise flick. A must buy! Available
Here AUD$29
Mascara - Rimmel Scandal Eyes Extreme Black Volume Mascara
I have tried a lot of mascaras and whilst I really love this mascara, I am yet to find my holy grail, purely because I can't justify buying heaps of mascaras, especially if they are high end. But so far, this is the only one that I have repurchased. I love the thick brush and the formula because its lengthening and super volumizing which I love in a mascara. Its not expensive but definitely a fantastic every day mascara.
Available
Here AUD $11.95
I have a separate post on this palette coming up because it is so spectacular that it needs a whole post! I literally use this almost every single day, the colours are so versatile and pigmented and can make so many looks from every day simple to a dark smokey eye. My literal holy grail favourite eye palette. Thanks Stila! Im fairly sure this is discontinued in Australia which is so sad, but I think you can still get it in America and it is definitely online in places like beauty bay.
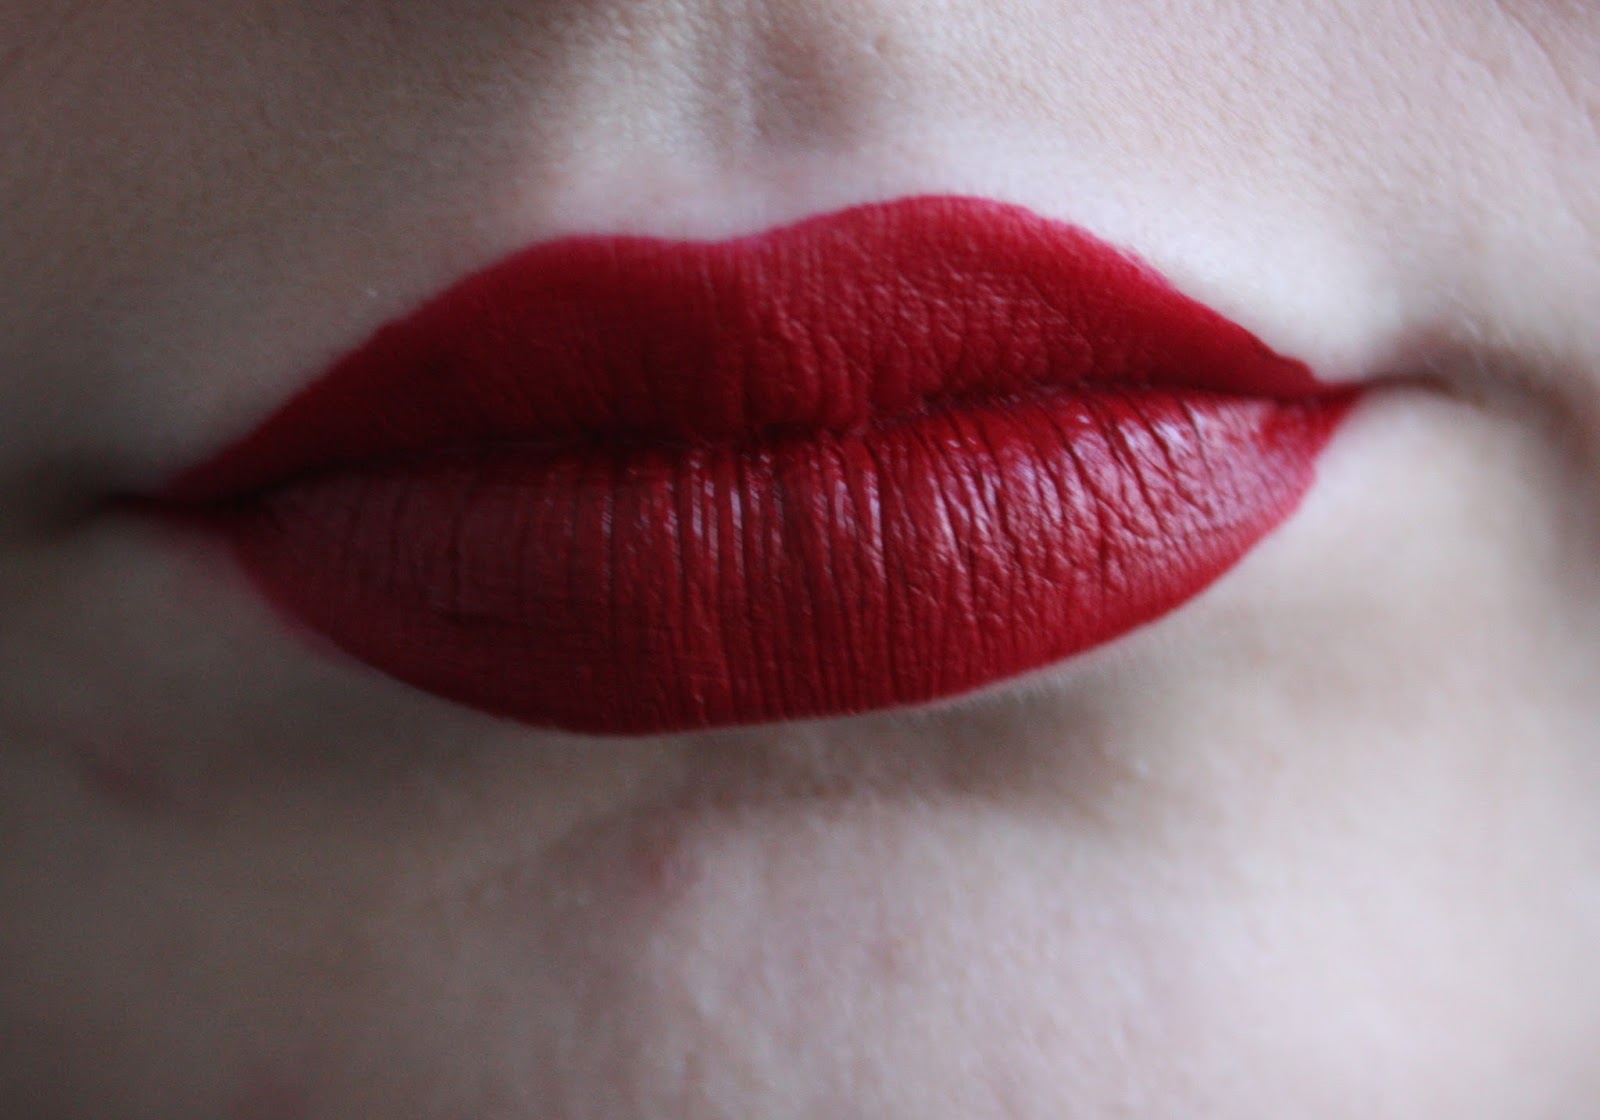
So there you go, these are my every day, go to favourite products that I use to create my every day look. Whilst this changes slightly daily, like sometimes more bronzer, a different eye look, sometimes eyeliner, different lipstick etc. but these are the products I use pretty much every day. I hope you enjoyed it! Comment what else you would like to see on my blog
Anya xx
 This makeup look has been a timeless staple in the makeup industry for decades, and you can see why, its clean, its classic, and it has the ability to be edited to match arising trends - smoking out the line for an edgy look, using a bold colour like cobalt blue for a modern edge; the possibilities are endless. Once you learn how to perfect this look, you can experiment with new approaches and different effects.
 Application: Every one has their own way of applying liquid eye liner but this is the way that works best for me. First of all, hold the pen the same way you would hold a normal pen and anchor your hand with your pinkie by resting it on your cheek.
 Start in the centre of your eye and draw a thin line to the outside of the eye. Then go to the inner corner and draw a line that connects to the centre of the eye. Then draw a small line from the outer corner out to form the flick, start off with a small line and you can make it bigger if you want - to find the line that works best, use a pencil or piece of paper and follow the ankle at which your bottom lash line curves up and meets with your eyebrow.
  If you are trying it for the first time, place a piece of sticky tape in the same place - not only will this keep the line straight, but also remove any mistakes that go onto the sticky tape (Tip: this is also great for making a smokey eye where you want a clean sharp edge. Just make sure the angle and line of the sticky tape is the same on each eye - you don't want your liner going up at 2 different angles!)
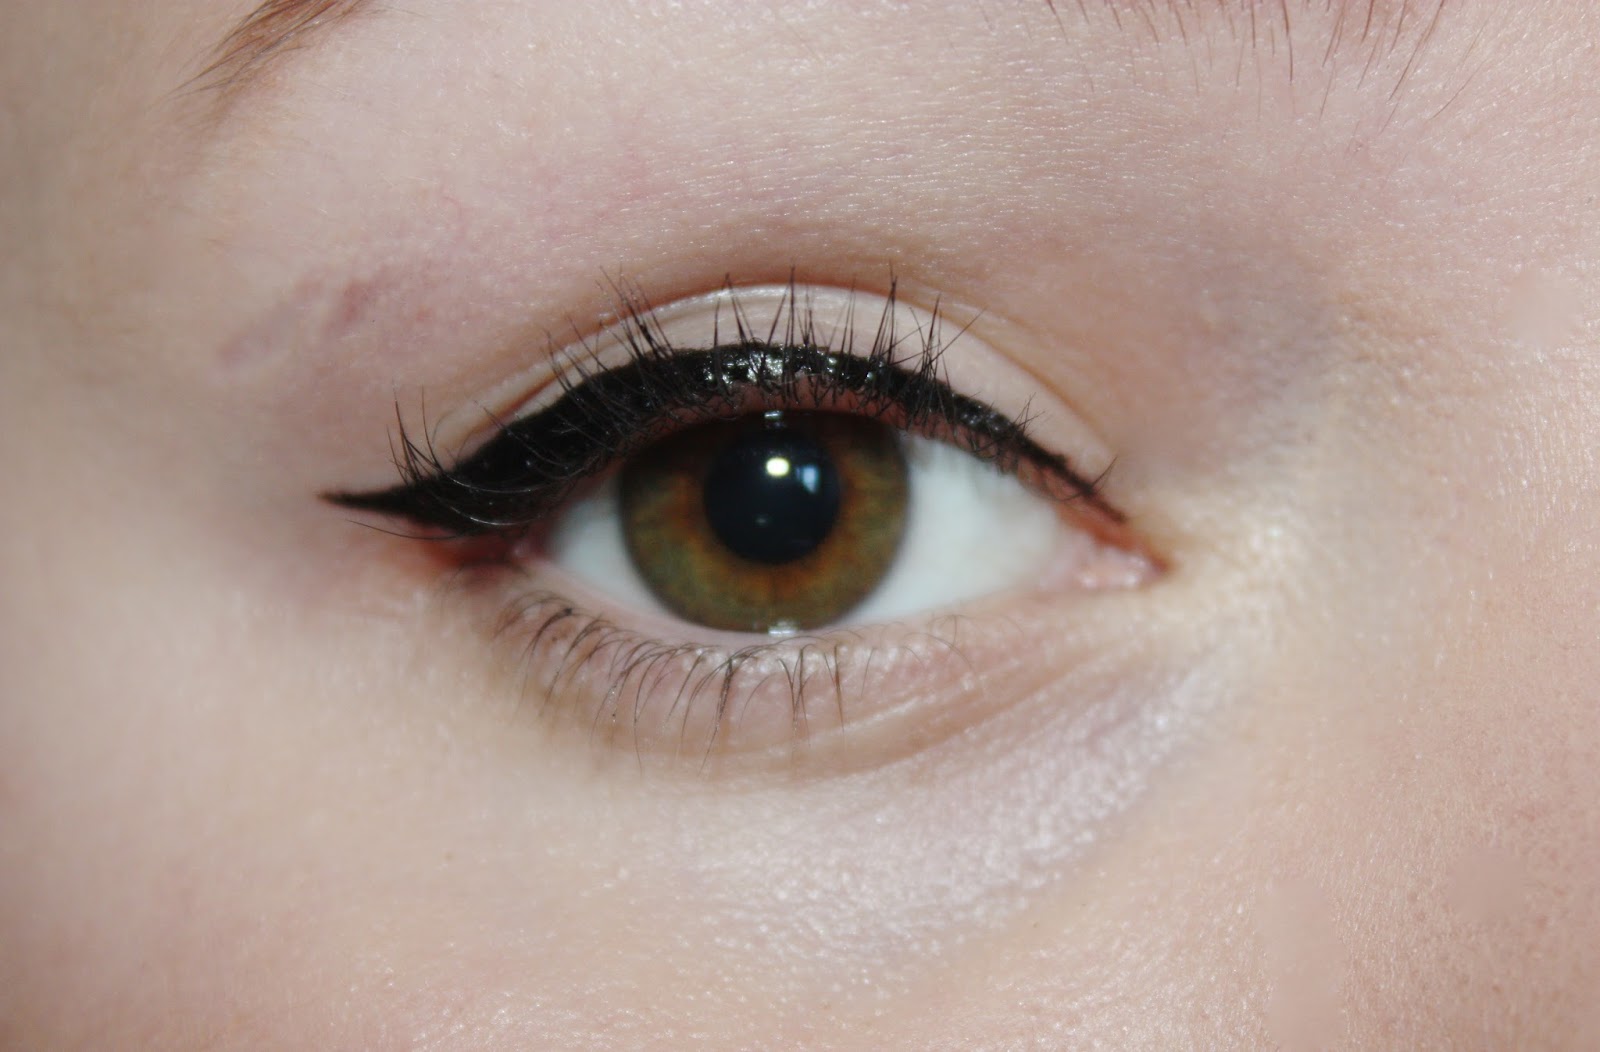 Then go from the edge of the little flick you made and connect it to the line you made on the lash line, this creates the thicker flick of the wing. Note: Start off with a small flick on each eye and you can make it bigger if you'd like - Its far easier to make the flick bigger but a lot harder to make it smaller!


