 This makeup look has been a timeless staple in the makeup industry for decades, and you can see why, its clean, its classic, and it has the ability to be edited to match arising trends - smoking out the line for an edgy look, using a bold colour like cobalt blue for a modern edge; the possibilities are endless. Once you learn how to perfect this look, you can experiment with new approaches and different effects.
Choosing the right product: Making sure you use the right product is absolutely vital in achieving a flawless, polished look. Using a pencil can be difficult as it pulls on the skin and is difficult to create a thin precise line. Pencil is far better for making a smokey eye, smudging around the upper and lower lash line or tight lining the water line. I have used a gel with a brush quite a few times and with some practice does create a lovely clean matte look but requires some practice. I find it does take a little longer to do, but it looks seriously flawless. Pro Tip: Use a super fine brush and wet the tip (either with a bit of water or M.A.C fix plus spray (or any setting/moisture spray) - this will ensure the brush fibres stick together with the product, pick up and apply the product better and create a really clean, sharp straight line. My all time favourite is this felt tip eyeliner by Stila, it creates a crisp matte line and the right amount of product comes out ever time. Its perfect for beginners wanting to master this look because it is exactly like using a felt tip pen! Bonus - its waterproof, lasts ages and comes in heaps of awesome colours.

 Application: Every one has their own way of applying liquid eye liner but this is the way that works best for me. First of all, hold the pen the same way you would hold a normal pen and anchor your hand with your pinkie by resting it on your cheek.
 Start in the centre of your eye and draw a thin line to the outside of the eye. Then go to the inner corner and draw a line that connects to the centre of the eye. Then draw a small line from the outer corner out to form the flick, start off with a small line and you can make it bigger if you want - to find the line that works best, use a pencil or piece of paper and follow the ankle at which your bottom lash line curves up and meets with your eyebrow.
  If you are trying it for the first time, place a piece of sticky tape in the same place - not only will this keep the line straight, but also remove any mistakes that go onto the sticky tape (Tip: this is also great for making a smokey eye where you want a clean sharp edge. Just make sure the angle and line of the sticky tape is the same on each eye - you don't want your liner going up at 2 different angles!)
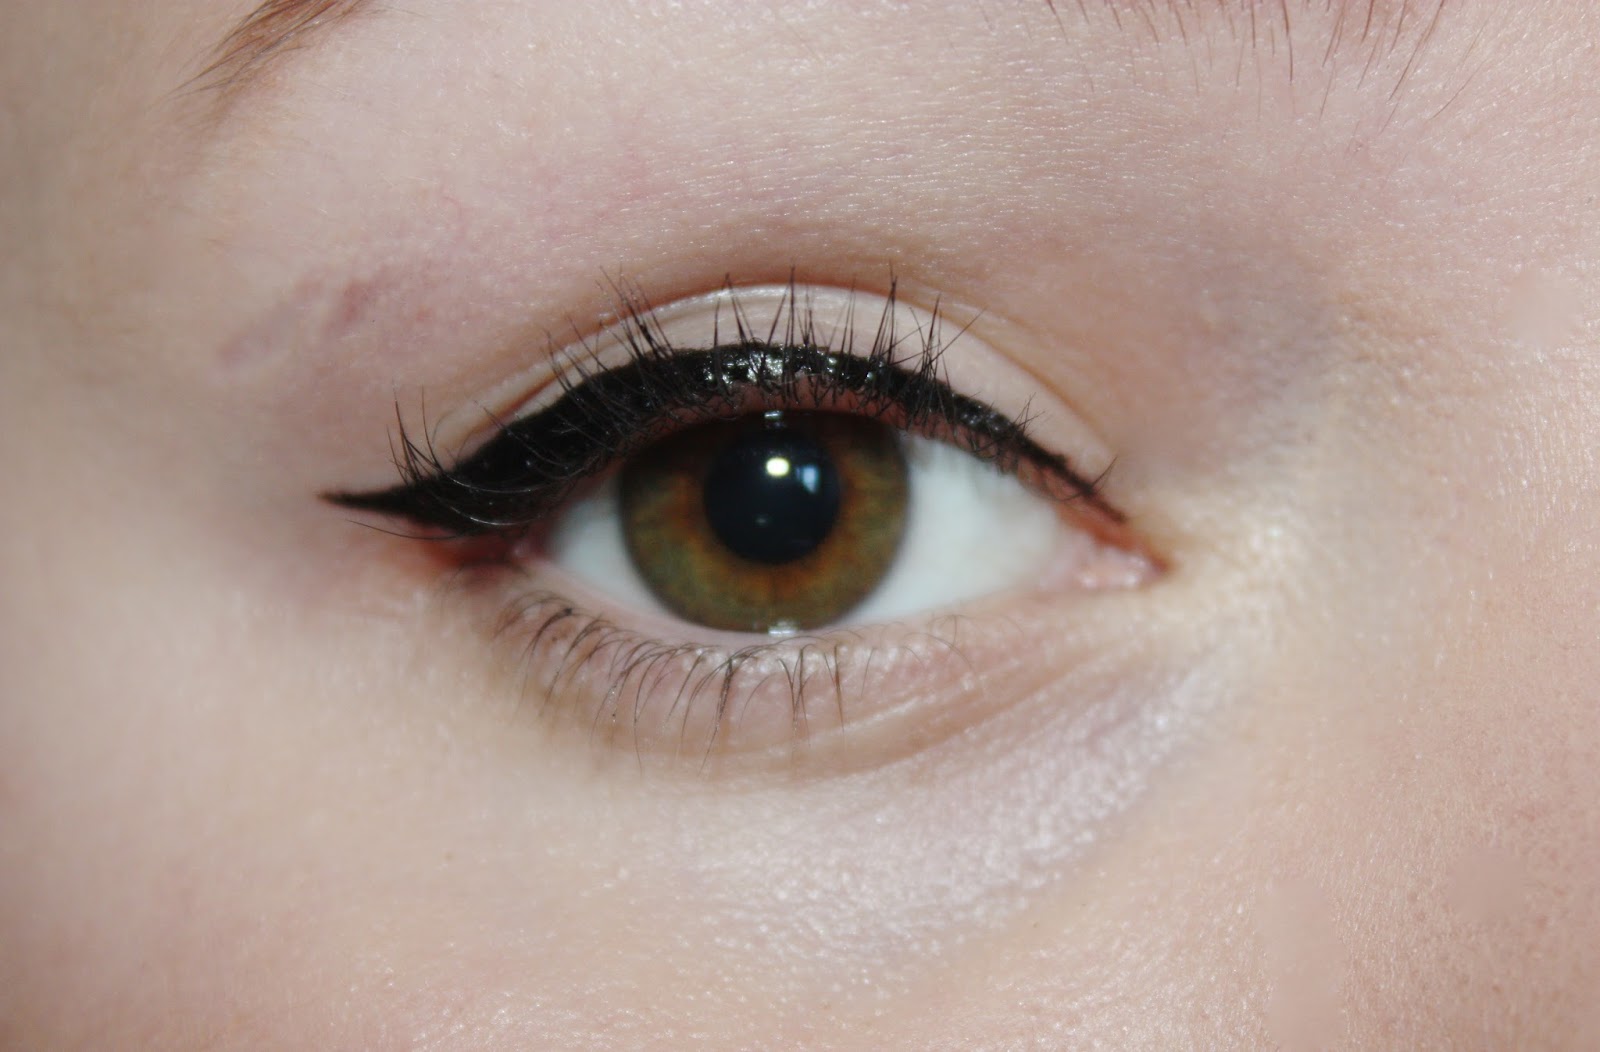 Then go from the edge of the little flick you made and connect it to the line you made on the lash line, this creates the thicker flick of the wing. Note: Start off with a small flick on each eye and you can make it bigger if you'd like - Its far easier to make the flick bigger but a lot harder to make it smaller!
No comments :
Post a Comment